How to change PHP Version in Plesk ( Windows Hosting )?
Our newest servers give you the option to run different versions of PHP (7.2, 7.1 7.0, 5.6) on your account. This is important when using third-party applications that require the latest stable version of PHP. The PHP version can only be changed on shared servers and this functionality is available by default to all shared cPanel hosting customers who are on servers that use PHP 5.6.
Changing the PHP Version:
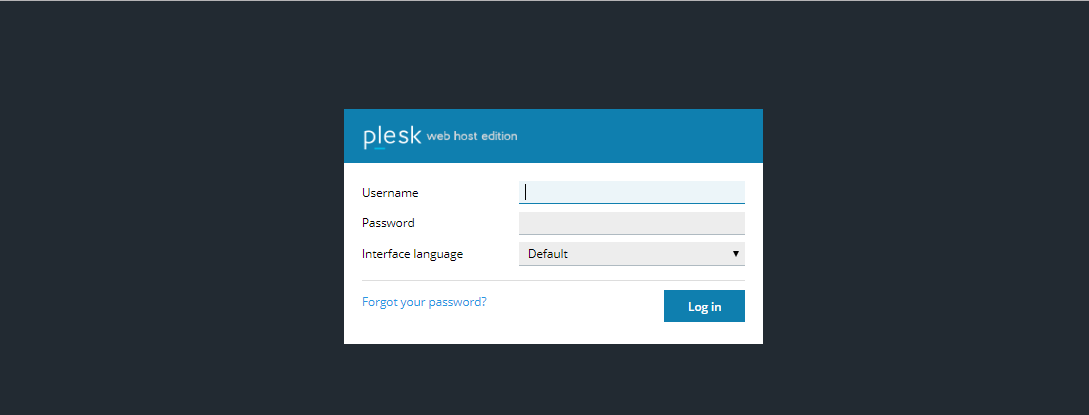
Step 1: Login to your Plesk panel.

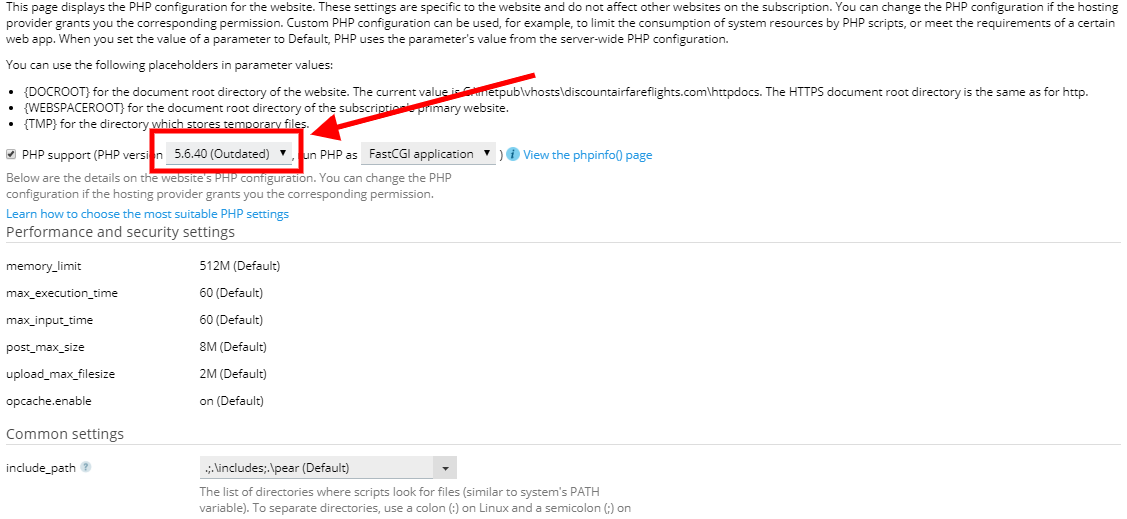
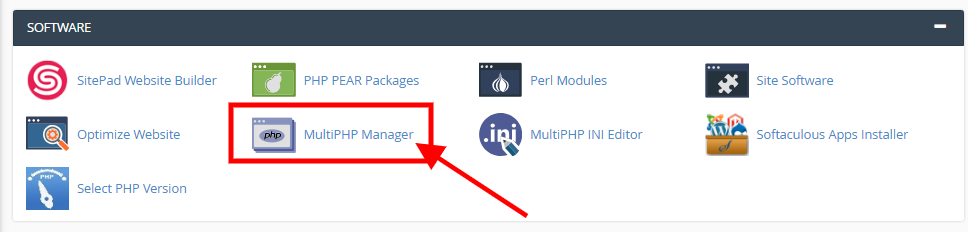
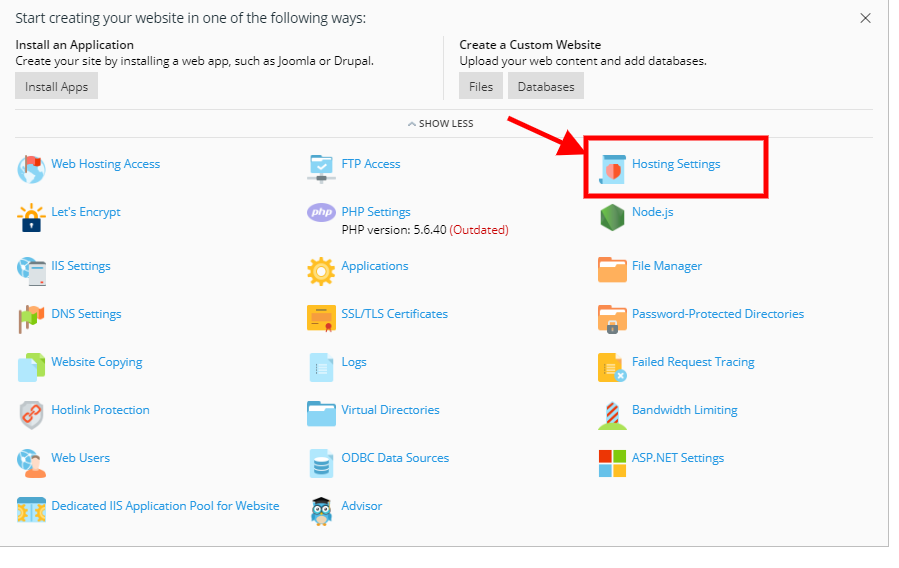
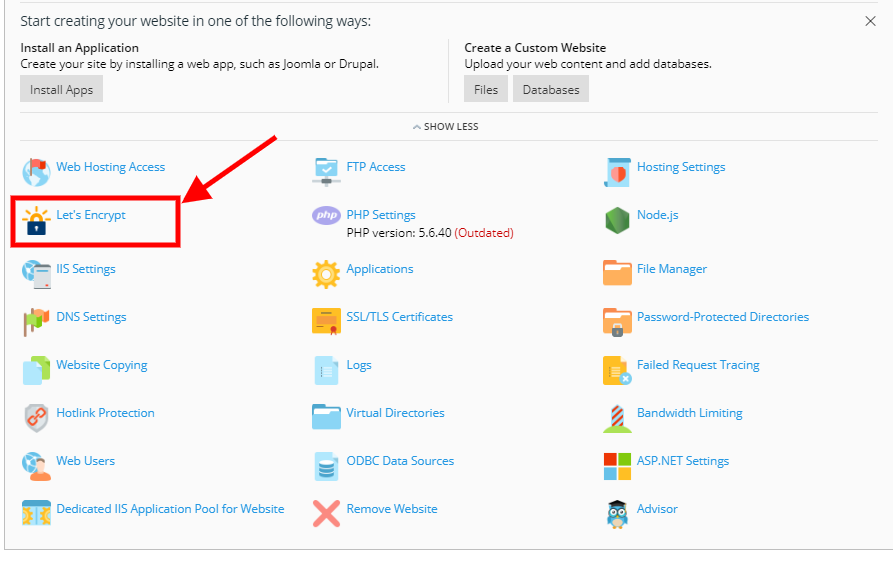
Step 2: Go to PHP Setting option as displayed in below image:
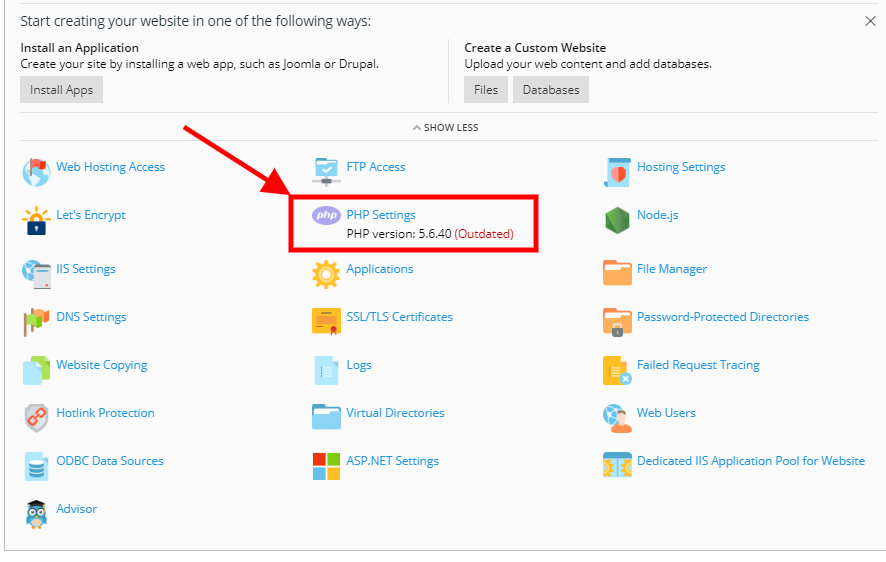
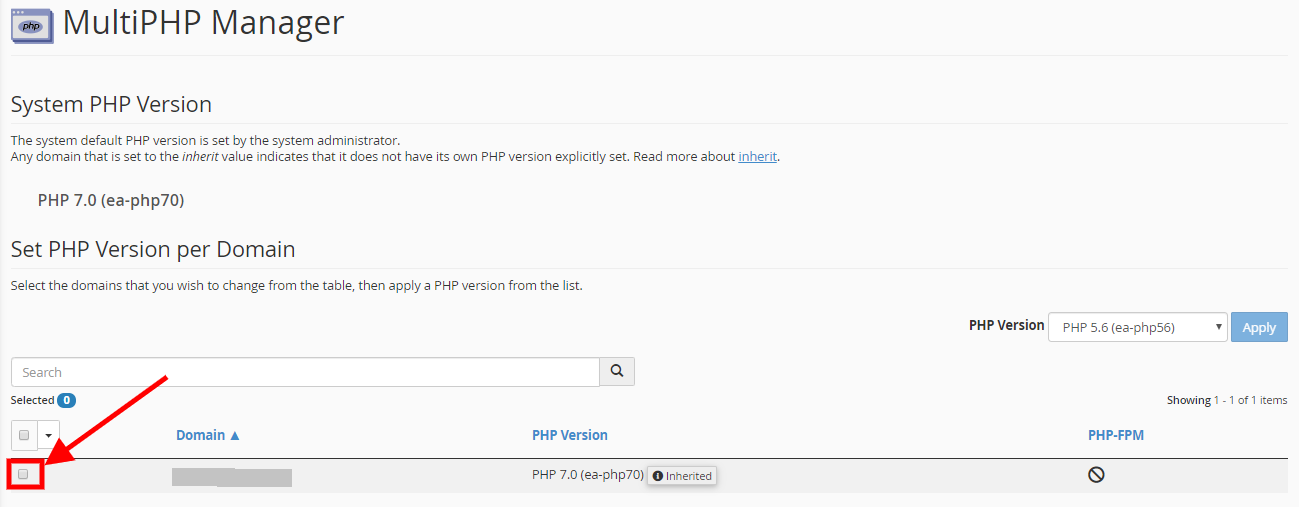
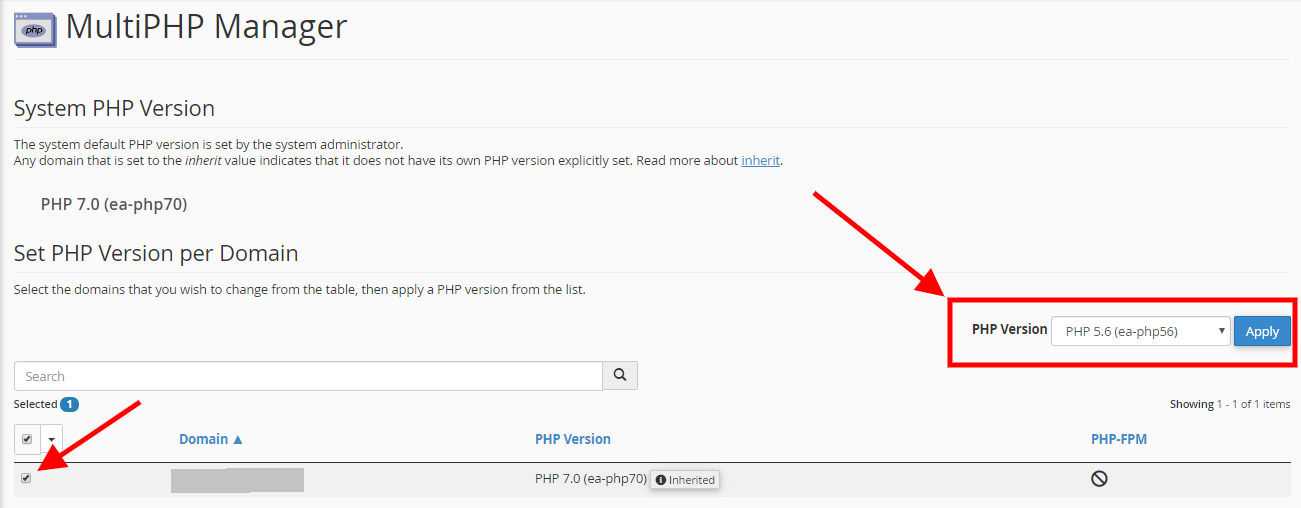
Step 3: From the drop-down select your PHP Version