×

Archive

How to add http to https redirection on website (Displaying Secure in URL) in cPanel Linux?

Once you have activated your SSL. Please follow these steps to display secure in your url (Adding http to https redirection). If you still have not activated your SSL you can activate it using our previous guide How to activate our free SSL certificate in cPanel? Let’s start following are the simple steps for the same:

Step 1: Log in to cPanel

Step 2: Locate and click on File Manager in File Section:

Step 3: Then enter in the public_html folder by double click on same. (If you adding SSL on subdomain or Addon domain enter in their respective folder)

Step 4: Then Locate file .htaccess in same folder. The file is usually hidden in cPanel. You can make it visible by Locating setting option on top Left corner.

Step 5: Then a popup will appear. Tick on show hidden files and apply.

Step 6: If still the file missing. Then you can create it by:

Step 6: If still the file missing. Then you can create it by:

Step 7: Right Click on the same. And Edit and enter the following code (As it is):

RewriteEngine On
RewriteCond %{HTTPS} !on
RewriteRule (.*) https://%{HTTP_HOST}%{REQUEST_URI}

Step 8: Click SAVE and now open your website.

How to activate our free SSL certificate in cPanel?

What is SSL?

SSL (Secure Sockets Layer) is a standard security protocol for establishing encrypted links between a web server and a browser in online communication.

Secure Sockets Layer (SSL) is a security protocol that creates an encrypted link between a web server and a web browser. It ensures that all transferred data remains confidential.The green sign means the site is protected by SSL. It will protect you from data breaches, and it gives visitors a good reason to trust you with sensitive information. It improves your rankings in search results.

How do you activate SSL certificate by cPanel?

Step 1: Log in to cPanel

Step 2: Locate and click on SSL/TLS Status in the Security section:

Step 3: Select all the URL under the domain section. Green Locks means your SSL is active while RED LOCKS means your SSL is not active.

Step 4: Now, click on “Run AutoSSL”.

Step 5: Now, wait for few minutes as AutoSSL will take some time to activate. Your page will reload automatically.

Step 6: Now, Check your website URL using https://yourdomain.

Step 7: Now, You have to redirect your All URLs from http to https.

How to Use and Manage cPanel’s File Manager | Hapih Host

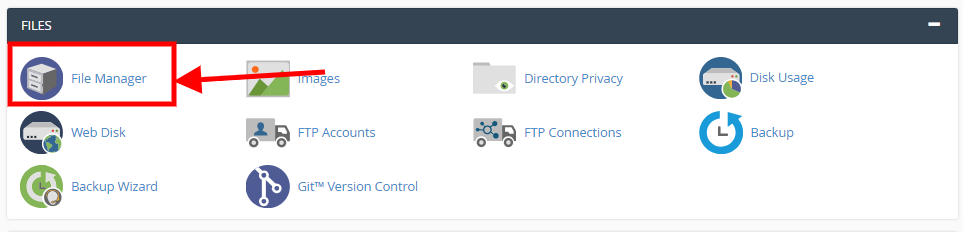
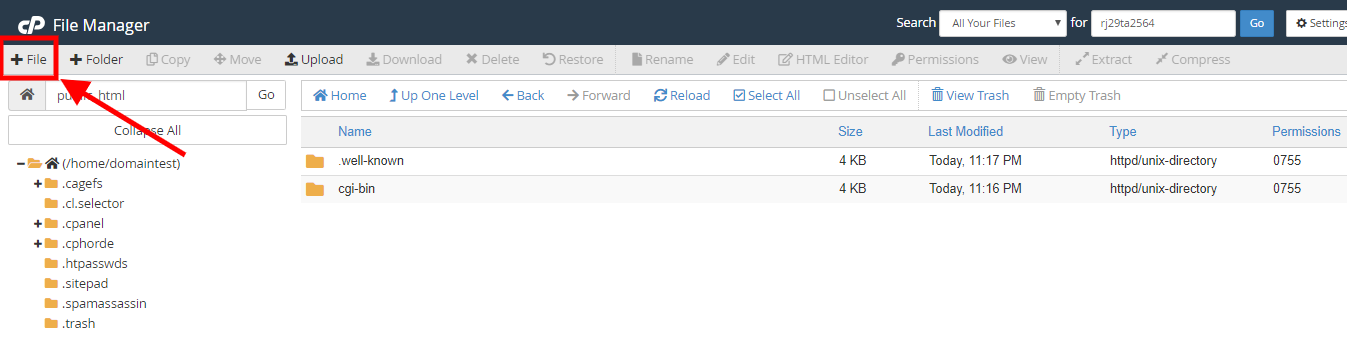
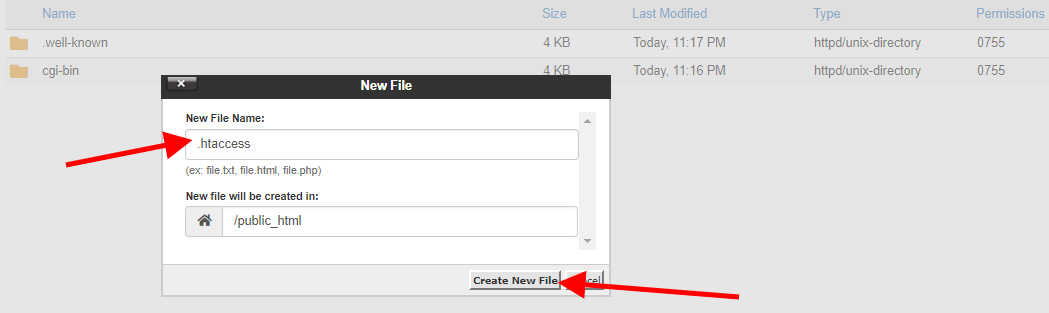
cPanels File Manager – If you are unfamiliar with File Manager in cPanel, please see our article on Using File Manager in cPanel. Sometimes it’s necessary to upload files to your cPanel account. This can be easily accomplished by using the File Manager within your cPanel account.

Step 1: Login to your Cpanel

Step 2: After opening cPanel you must be able to see File Manager. Click on the File manager option.

Step 3: After opening File Manager, you should see this new window pop up.

Let me explain you step by step process, we will explain all the features of File Manager which will be marked on the provided screenshots with rectangles and arrows and numbers, so keep in mind that, for example, if explanation refers to a certain number, you should check the screenshot to see which rectangle or arrow that number represents.

Step 4: Firstly you must have to learn how to navigate File Manager properly.

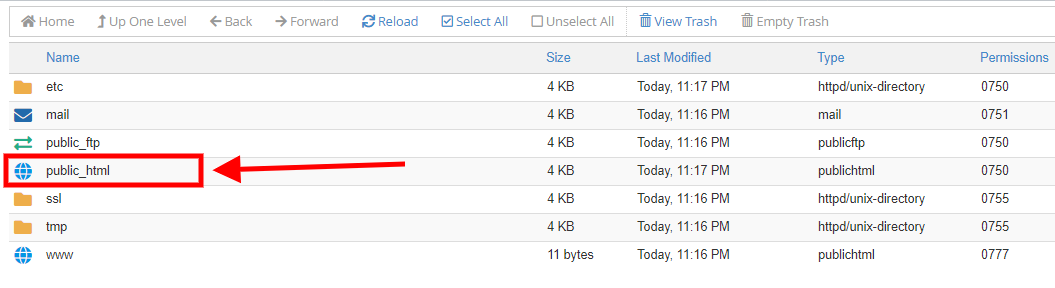
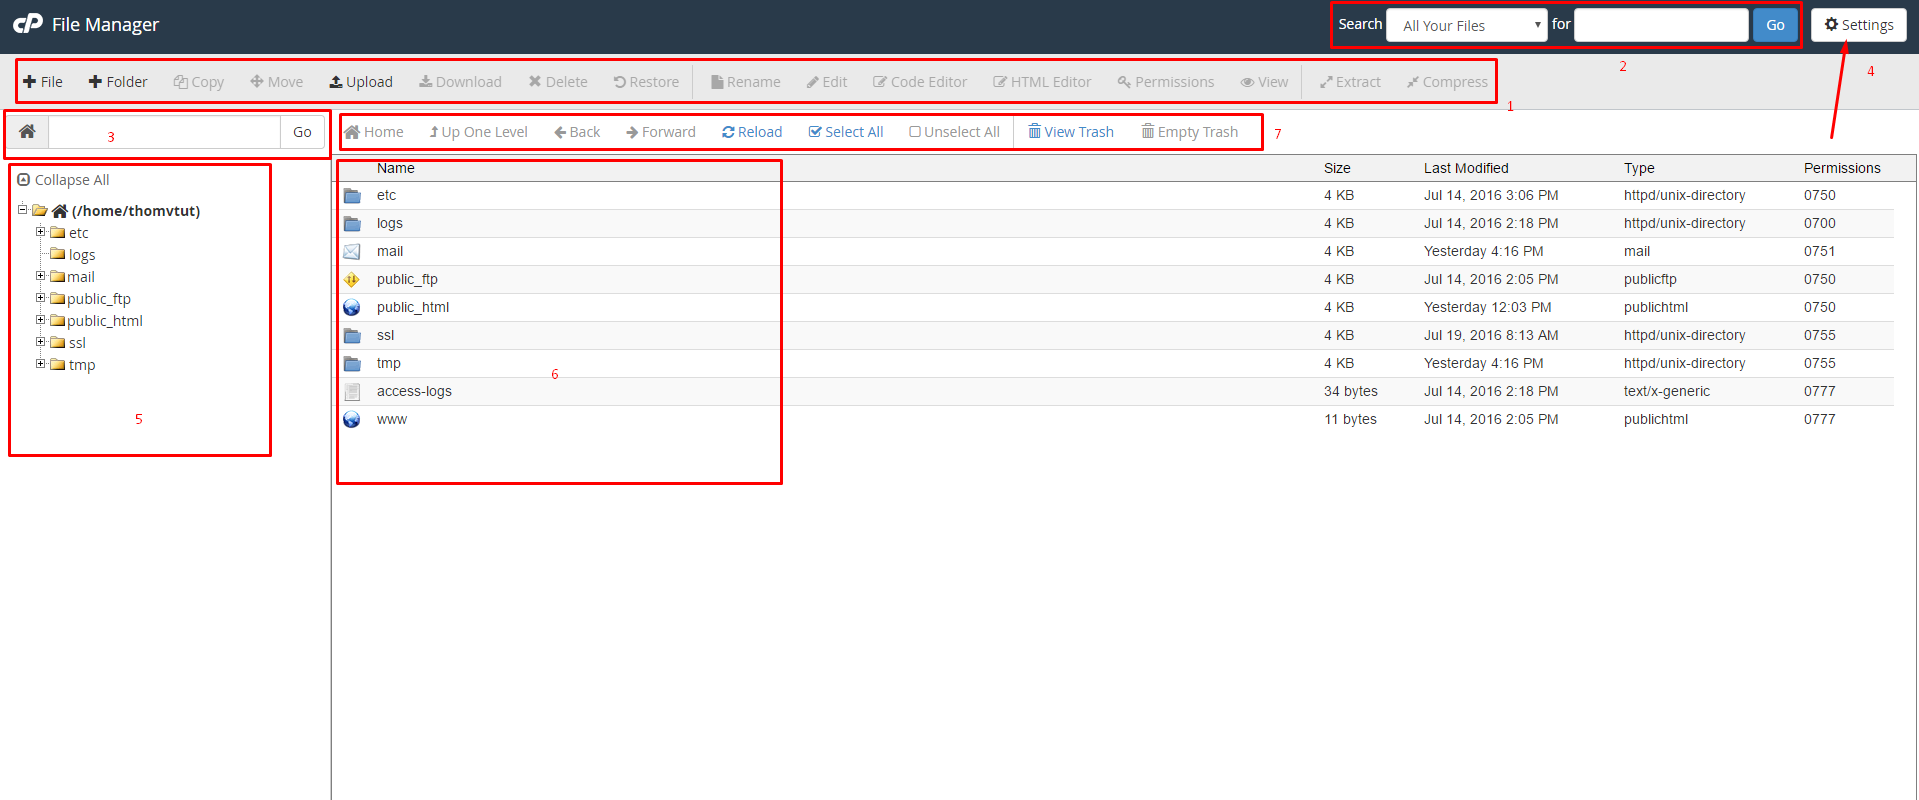
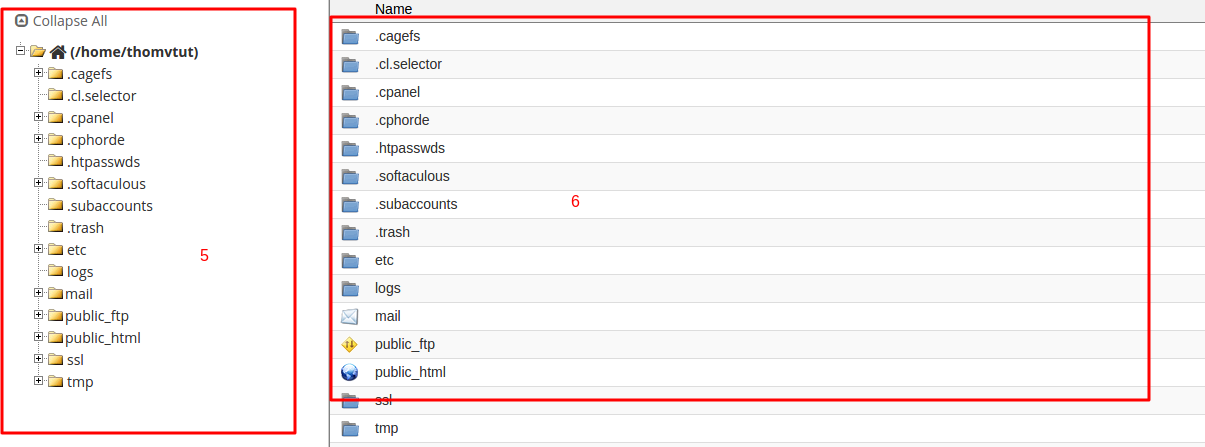
Marked by No. 5 and 6 are the most important fields for navigation. Take a look at No. 5, here you can see the list of folders only. If you wish to access a certain folder in your File Manager, it is best to simply click on it in that field (No. 5). Notice a small plus icon next to a folder. After clicking on it, sub-folders of that folder will be shown (notice the logs folder, which does not have the plus icon, it means that this folder does not have any sub-folders in it). After clicking on a certain folder in the field No. 5, a field No. 6 will change and show the exact contents of that folder. In this tutorial, we will be doing changes only with the contents of the public_html folder. All the remaining folders are mostly system folders required for cPanel and its features to function properly, so all the folders except for public_html should remain untouched. Basically, you must use the list on the left (No. 5) to navigate between folders and list on the right (No. 6) to manage the files. You can navigate between folders by clicking twice on the folder in the right field as well, but that is not as convenient

Step 5: Infield No. 3, you can write a full path to a certain folder and it will be immediately displayed to you after clicking Go.

Step 6: One of the important field, related to navigation, is No. 7. Here is a list of functions in this field-

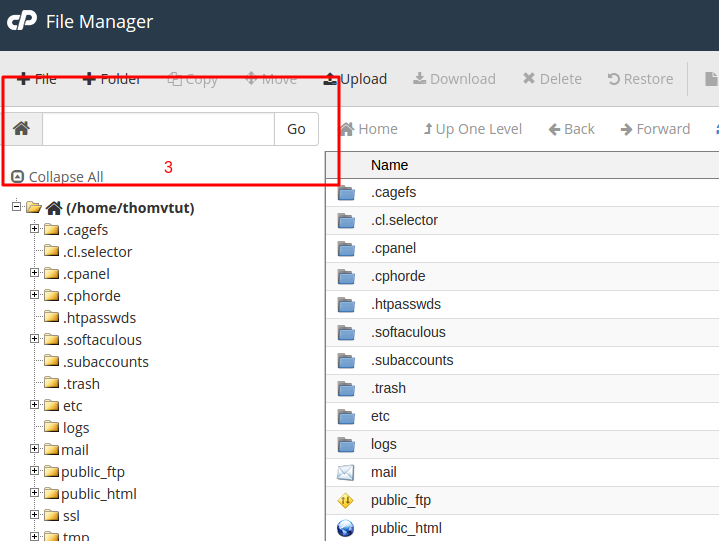
Home – Immediately shows the main Home folder.

Up One Level – Goes up exactly one level in the folder hierarchy. For example, if you were navigating the public_html folder, you can click this to go back to the home folder, which is one level up the public_html folder.

Back/Forward – Works as back/forward navigator in any internet browser. You can go back to the previous page that you were before coming to the current one or go forward to the page that you were before clicking on the Back button.

Reload – Basically refreshes the page to show any changes made.

Select All – Selects all the files and folders in the field No. 6.

Unselect All – Unselects all the files and folders in the field No. 6.

View Trash – Shows the Trash folder. All deleted files go there.

Empty Trash – Clears the Trash folder. Available only when viewing the Trash folder.

Step 7: The last field related to navigation:

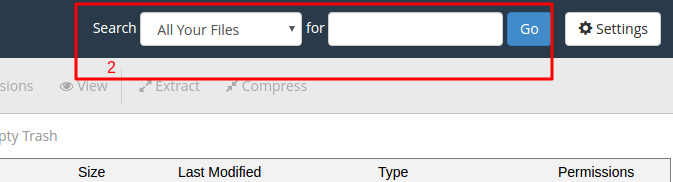
which is worth mentioning is the Search field marked with No. 2. In the drop-down menu, you can select to either search between All Your Files or inside a certain folder (current directory or public_html are the remaining options). Next, to the drop-down menu, you have to write a keyword that you are searching for and after clicking Go, the search results will be displayed for you with all the required information about where that file is located (double-click on the file in the search result field to immediately go to that location).